 Haha, run of the MILL! Get it? Because its bread? Oh never mind, it was probably funnier in my head.
Jokes aside, bread is hands down my all time favorite thing to make. I don't know what it is about it, but those who have made bread in the past will probably know what I'm talking about. If you haven't ever made bread and you don't know what I'm talking about then you NEED this recipe!
 For some time I had been looking for a decent bread recipe, for one that would make bread that I would actually want to eat the next day, and then my mum gave me this book and when I saw that it had a bread recipe in it, I just knew I had to make it. This bread is amazing. The bread I made by following this recipe is the kind of bread I would buy from a bakery, it's that good, and so, I implore you to cancel all your plans and MAKE THIS BREAD!
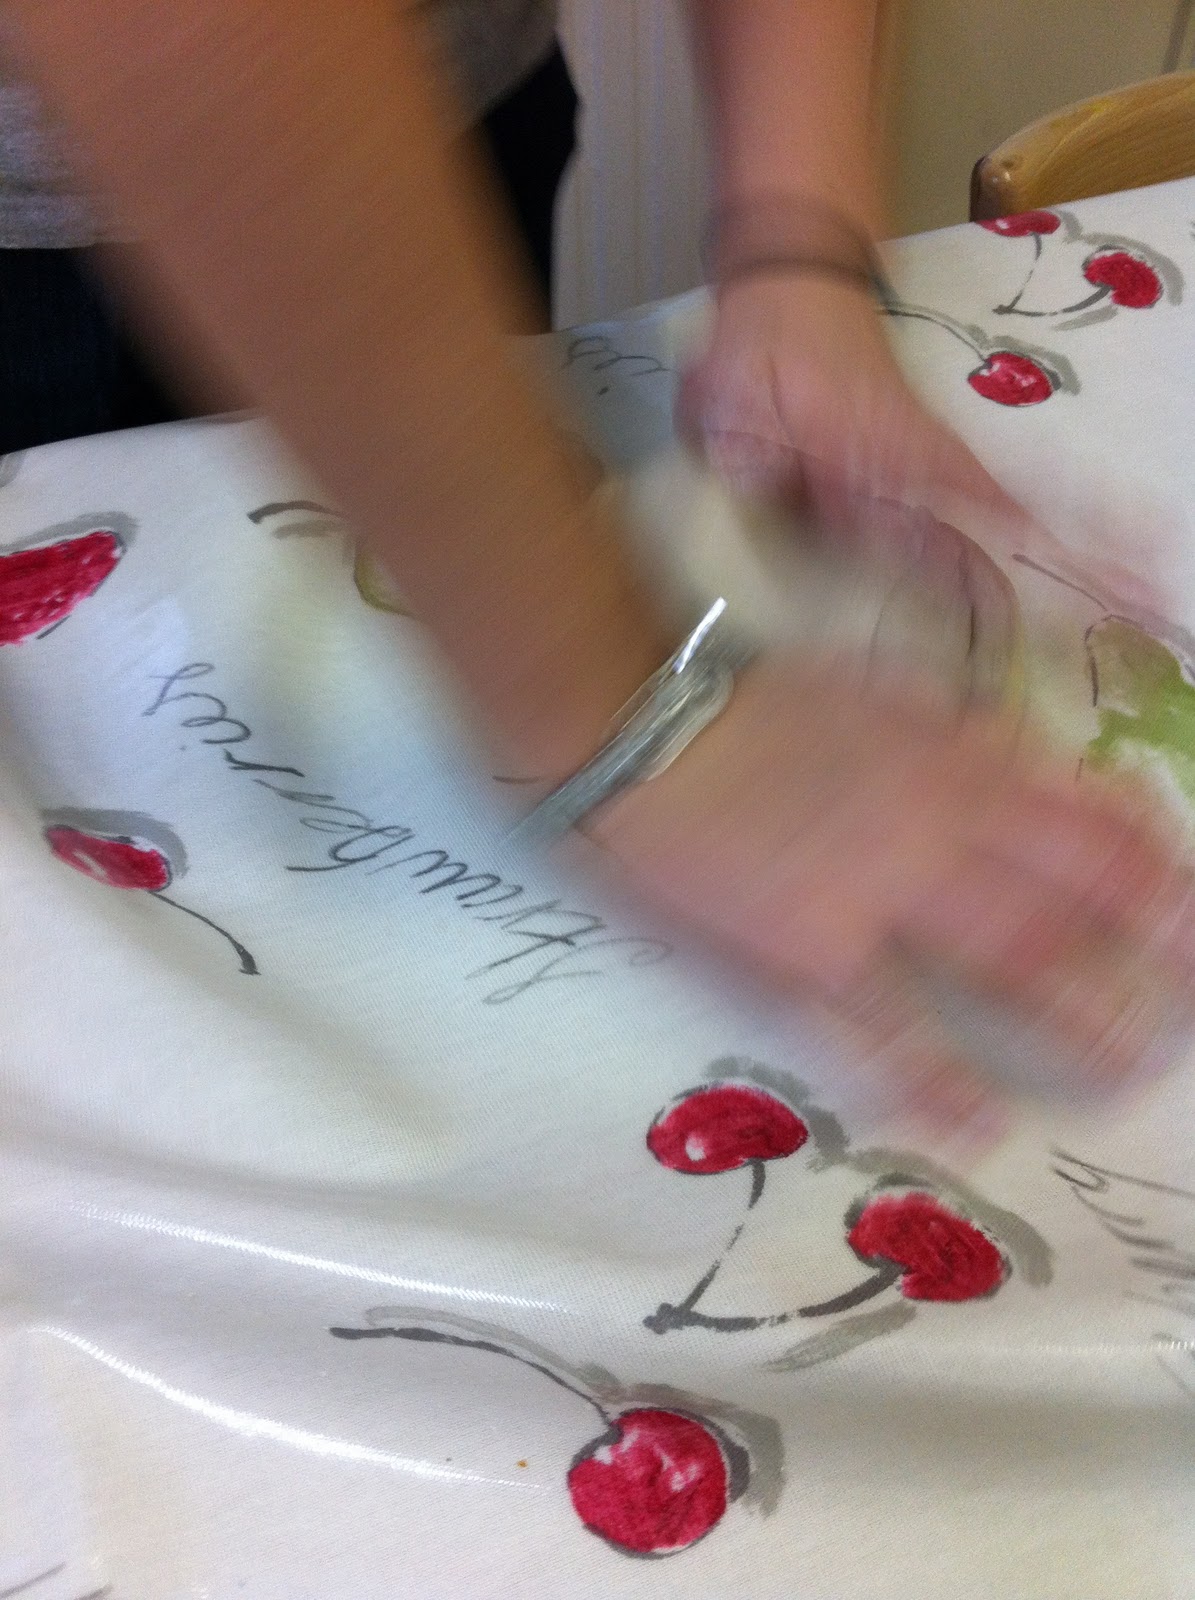 I first cooked this recipe at home and made two large rolls and they were really good, but were a tad heavy along the bottom, so, when I made it a second time at school with my good friend Becky (after finding out that she had never made bread and nearly exploding at the thought that she had been deprived from making such simplistic goodness), we divided the dough into 6 smaller rolls and it turned out much better, but, horses for courses!
AOIFE'S TIP: Cover your hands in flour before you handle to dough, this will help to prevent the dough sticking to your hands. Keep your fingers together! To get the dough off your hands, don't use water! cover your hands in flour again and rub them together. If you want to get the dough off your hands
Run Of The Mill Bread:
Bare Necessities:

2tsp Salt
7g/1 sachet Fast-Action Dried Yeast
OR
15g Fresh Yeast
450ml Lukewarm Water
1. Add the flour, salt and yeast (if you're using dried yeast) to a bowl and mix.
 (1.5. If you're using fresh yeast, combine with the lukewarm water.)
2. Add the water to the flour.
3. Mix the flour and the water (you may want to use a wooden spoon for this, but at some point you will have to start using your hands.)
3.5. If you've mixed all the flour and water together and it's too dry, add some water, but only a couple of drops at a time, and if it is too moist, add a small handful of flour.
4. Once you've mixed all the flour and water together, sprinkle some flour onto the work surface and take the dough out of the bowl and knead solidly for 10-15 mins
 5. Put the ball of dough back into the bowl.
6. Cover the bowl with cling film, and pierce the cling film a couple times.
7. Put the bowl in a warm area (e.g. the boiler room or on the radiator) and leave for about 1-2 hours or until the dough has about doubled in size.
 8. Punch the dough to deflate it slightly.
9. Knead gently so as to distribute the bubbles evenly.
10. Grease with butter and/or line your baking tray(s) with greaseproof paper.
11. Shape your dough, you may like to do a plait, or just a roll, whatever you fancy, and put onto the baking tray.
 12. Cover the trays again and leave in the same warm place for about an hour or until have roughly doubled in size again.
13. Preheat the oven to 230C/450F/gas mark 8.
14. Uncover the dough and put in the oven for about 30mins (rotating them half way through if needs be) or until golden brown on the top and makes a hollow sound if tapped lightly on the bottom.
15. Leave to cool and then serve up with the spread of your choice (or just plain if you want!).

No comments:
Post a Comment